Merry Christmas Everyone! Wishing you a wonderful, peaceful, loveful Christmas, here’s what I thought I’d give you as a special gift: an exclusive DIY Christmas Wreath from scratch!
It’s what I’ve been doing for the past week and after I’ve crafted a handful for the family and the neighbors, I thought it’s time I collect them all in a single story, unique, from my DIY-loving heart! A quick guide on how to make your own wreaths, even more beautiful than a store-bought, a lovely project you can make with your kids, friends or neighbors and then brag about it. Like I did.
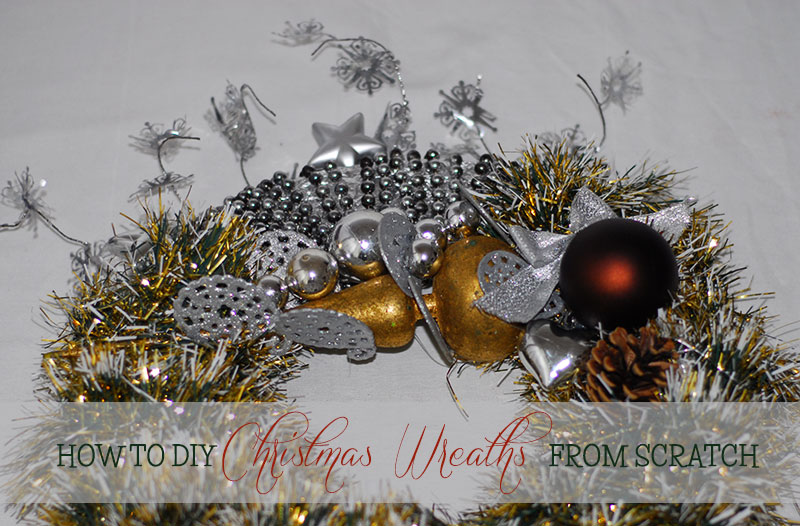
Above I presented you my crown-jewel. My craziest, most ‘designer’ wreath this year. Something I started doing with no particular idea in my head, and it lead me to what you can see above. It was finished before I could wake up from the artistic fury and take some pictures! However, the wreath I photographed abundantly was made using the exact same technique and slightly different colors.
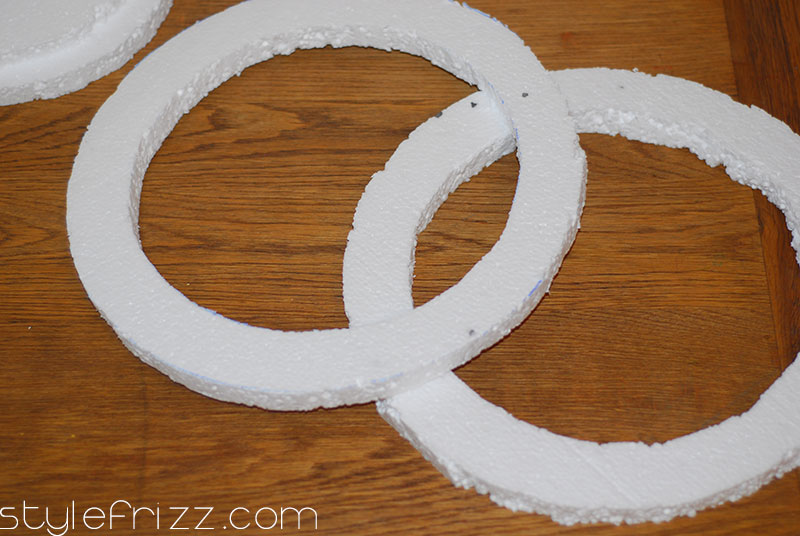
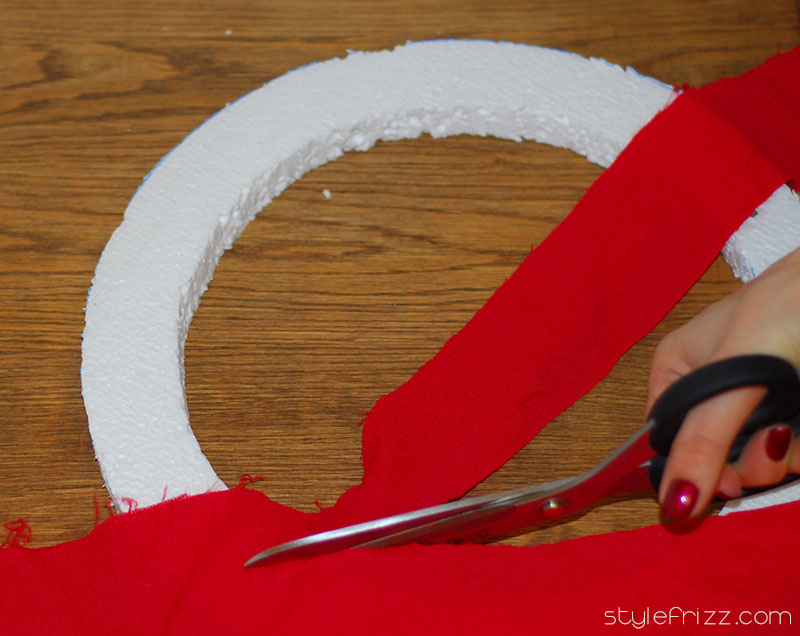
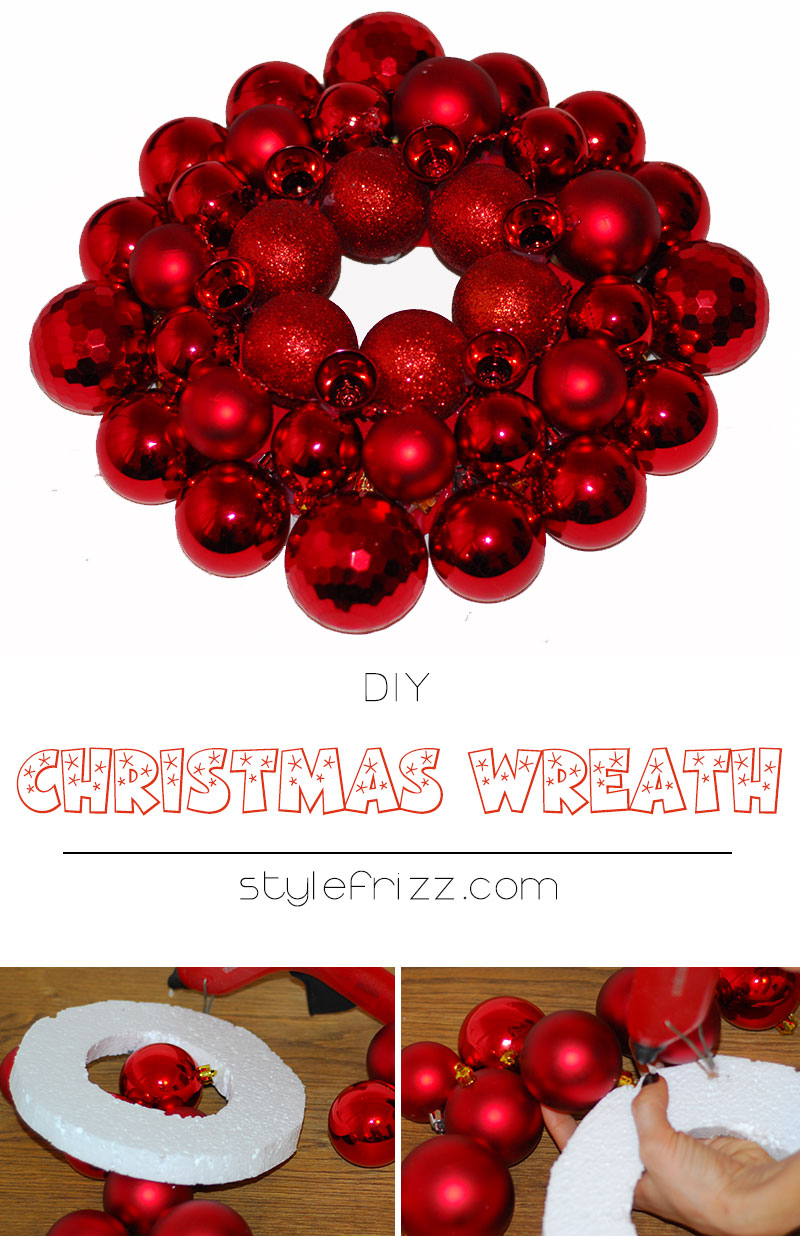
All my wreaths this year have a polystyrene sheet base. I found it in the attic and after I traced round shapes on it, I released my cutter upon them! Not pictured here was the mess left behind – something the kids helped clean up – the reason you don’t get to see their tiny hands in the pictures is because they were busy chasing polystyrene foam particles around the house. I carried on crafting, undisturbed.
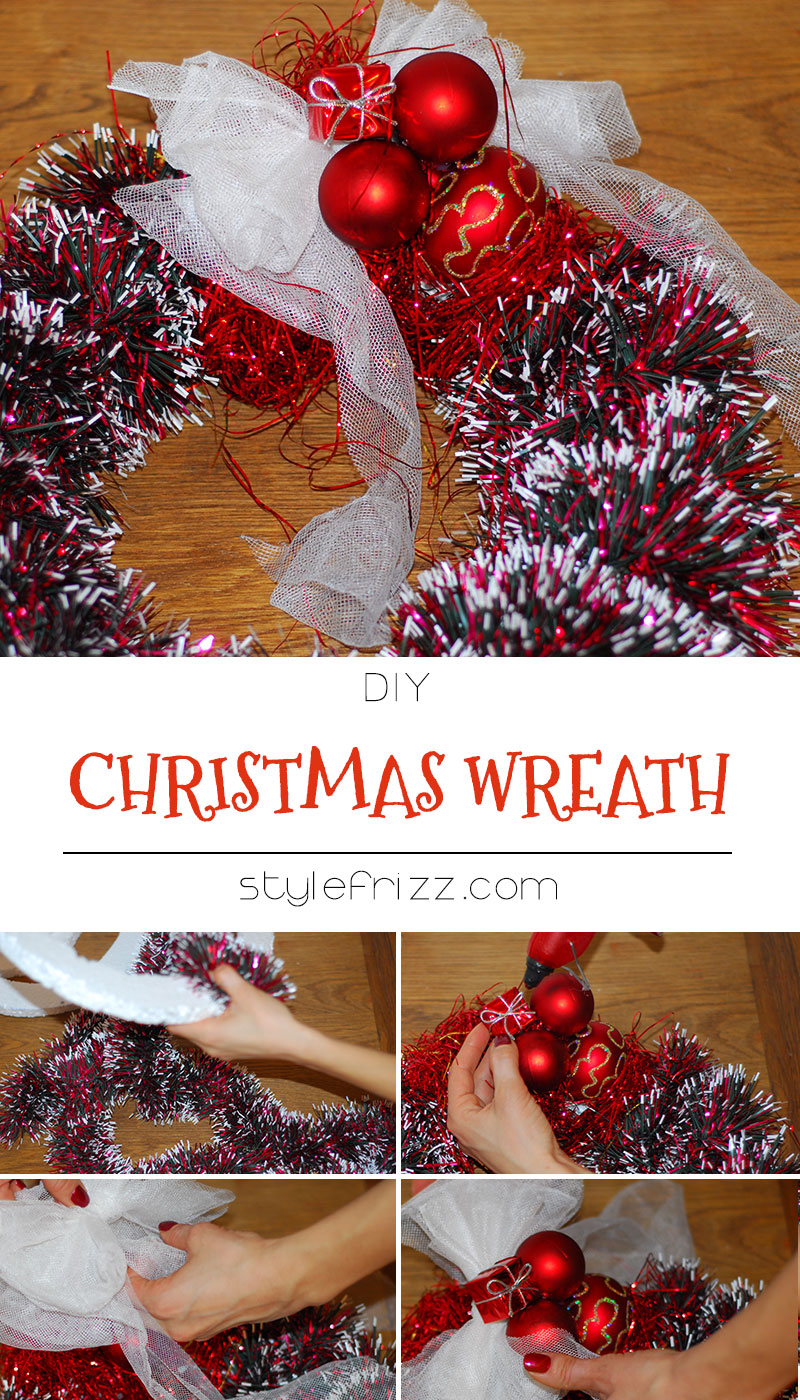
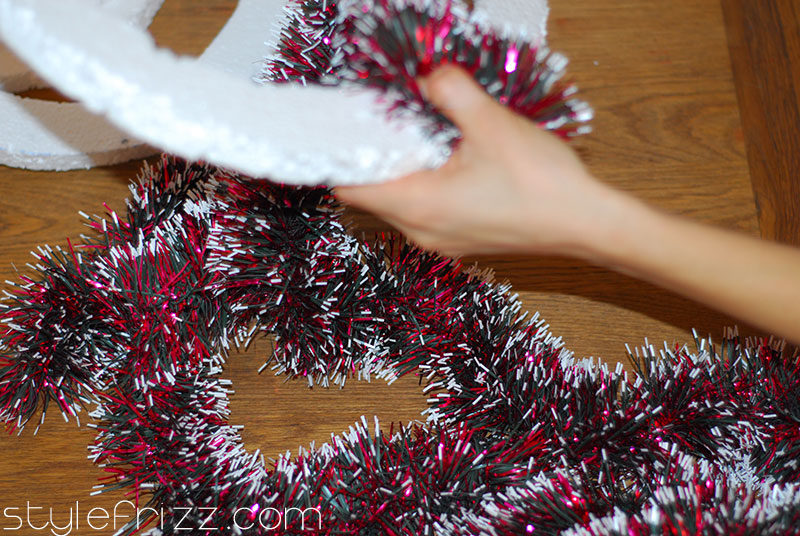
Take a rather thick, generous garland that didn’t fit in your tree this year and wrap it around the base circle until you’ve covered it fully.
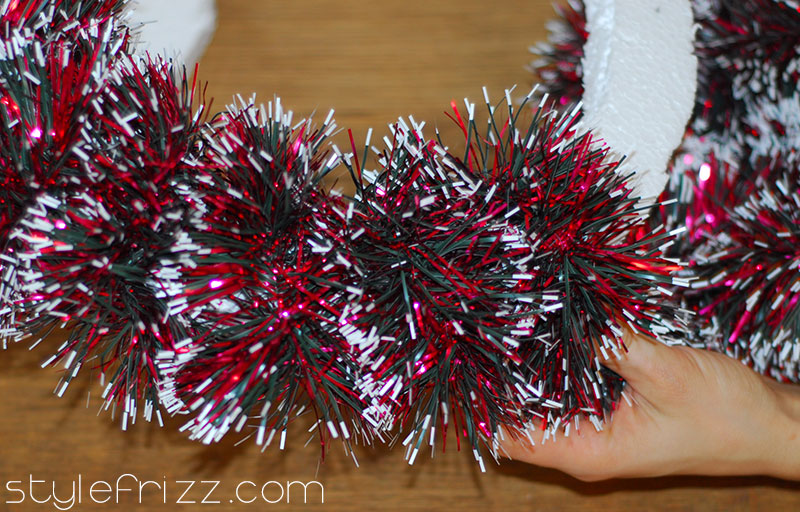
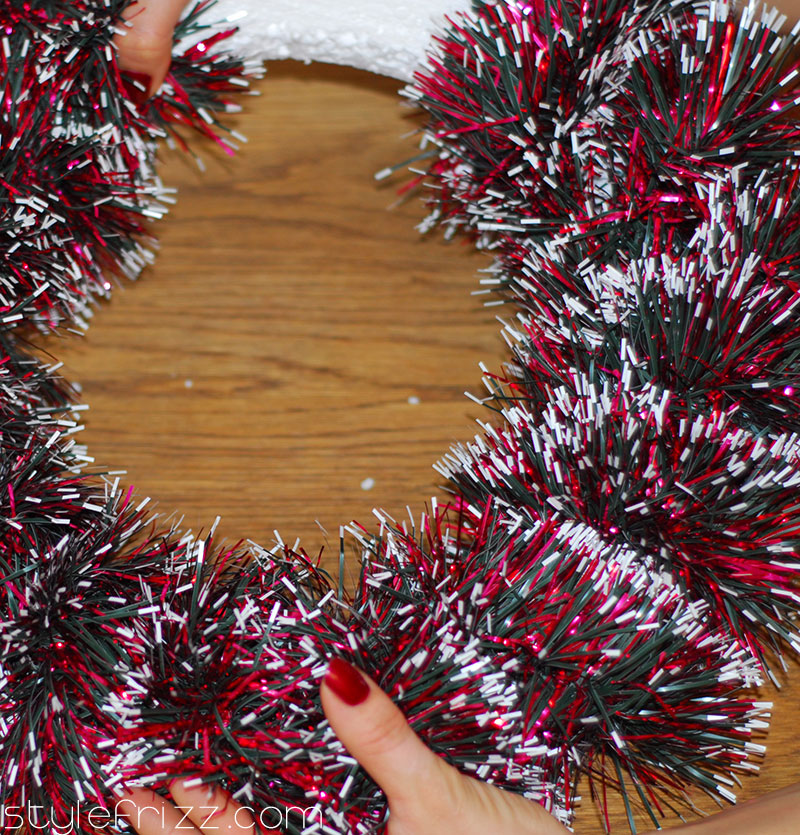
Or do like me and add a little extra decorations if the garland ended unexpectedly, leaving you with a empty base and lots of question marks as to what to use to cover it! Now get your glue gun ready and start gluing the baubles matching the garland. Use your hands to apply tension so that the glue adheres to the surface better, faster.
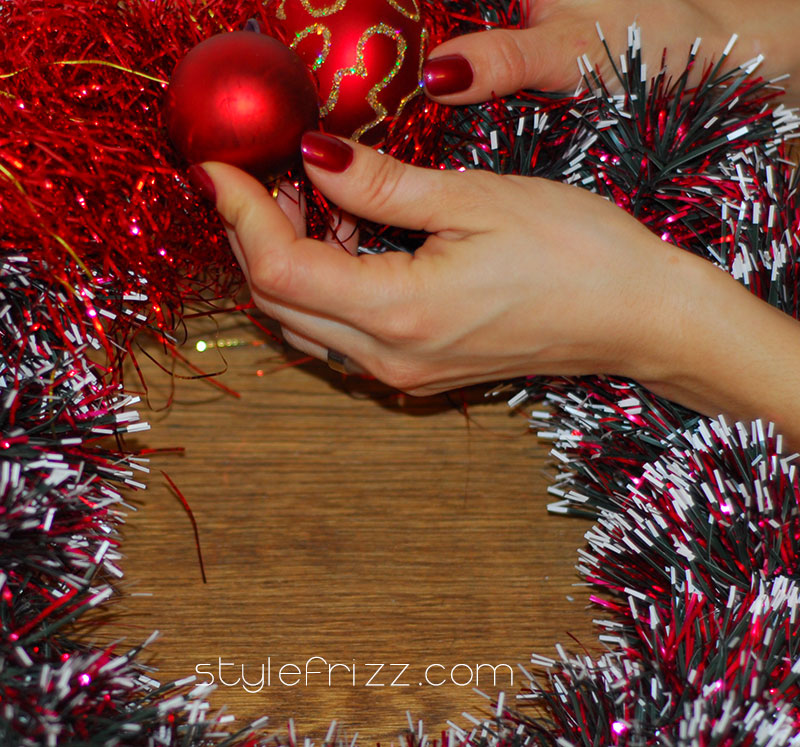
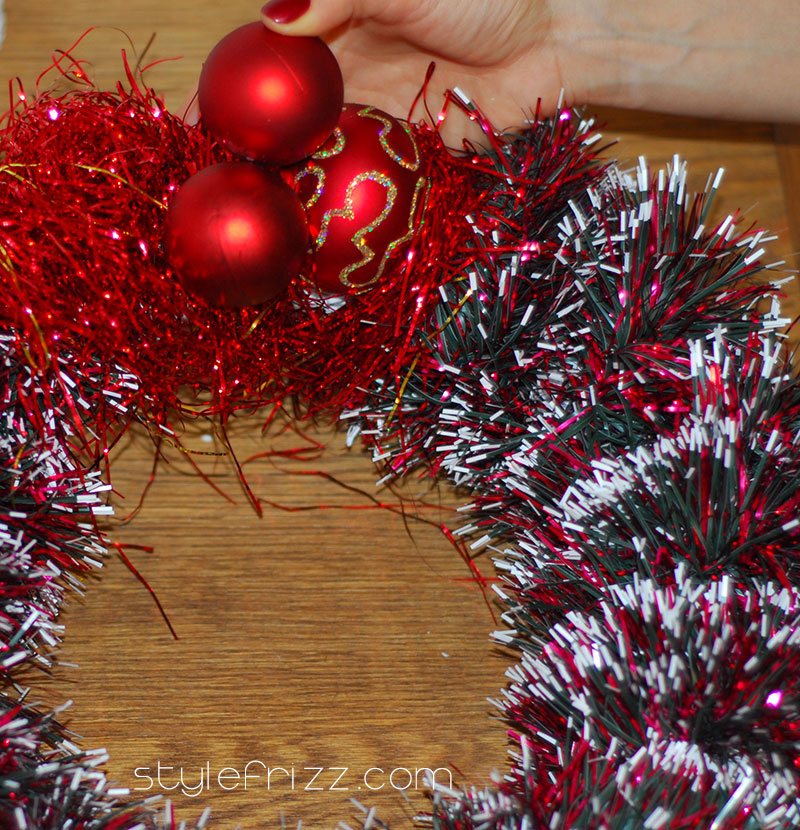
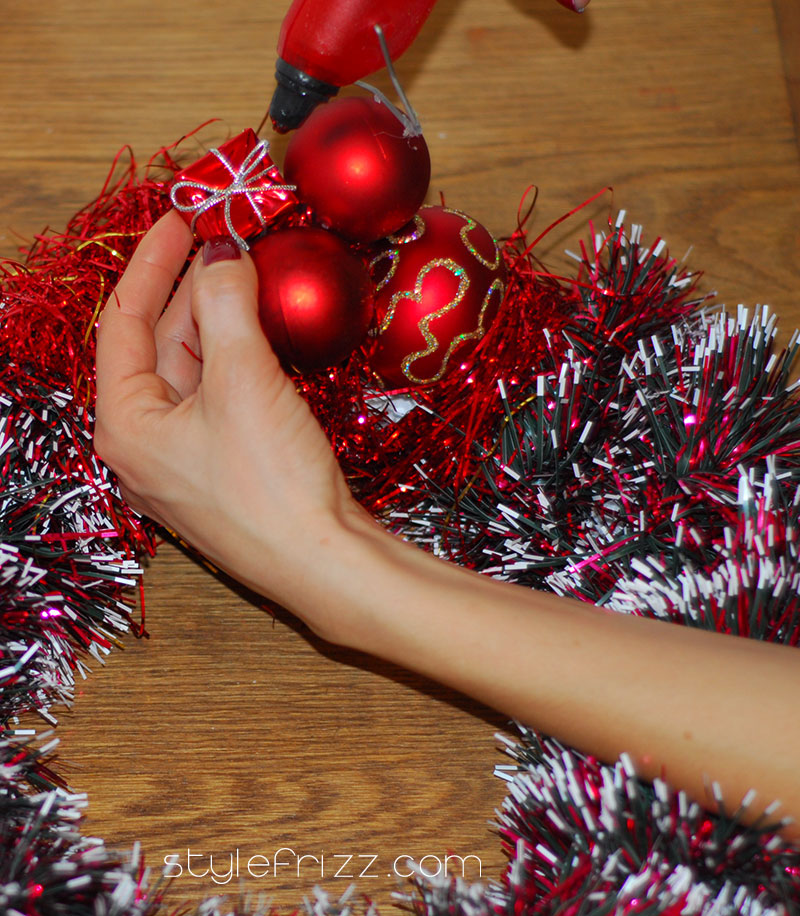

If you finished the baubles and still have the feeling that something’s missing, start a mad quest for some fabric, something to make a generous bow and finish the wreath with panache. I found an old, very simple curtain (from Ikea) – you can use tulle or whatever other fabric or ribbon you have at hand. The idea is to craft from scratches, from bits and pieces you have around the house.
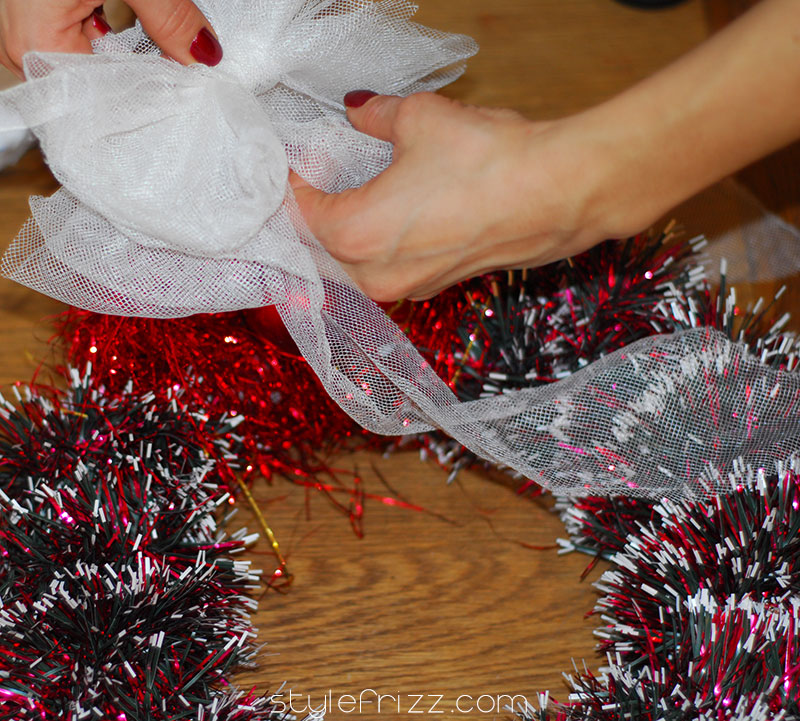
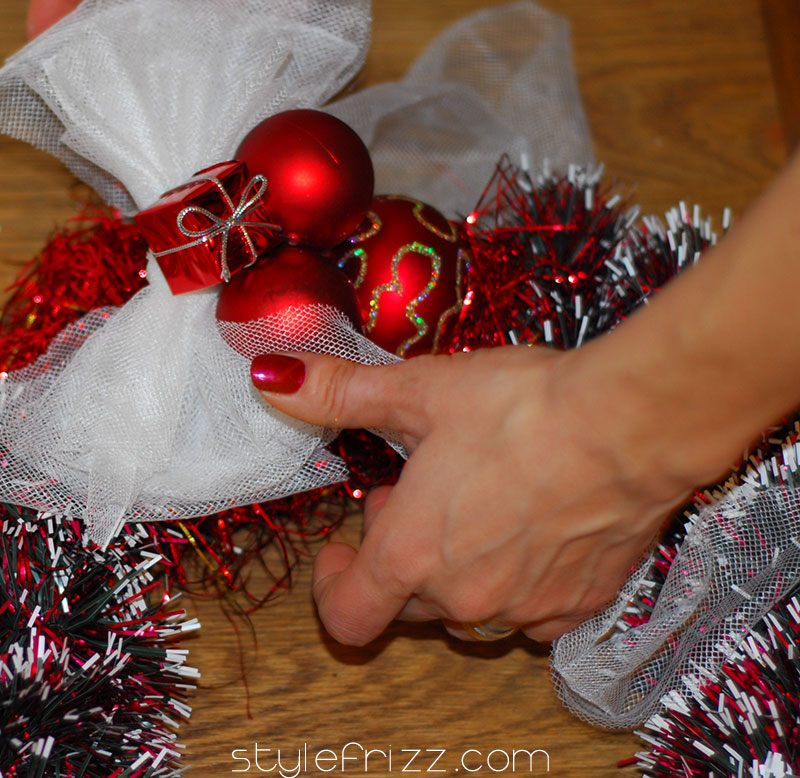
Now that I made my bow, I glued it behind the ornaments to make a slightly undone look I favor for my DIY projects, to give them a more authentic handmade feel! Ta-dah! Isn’t this pretty?
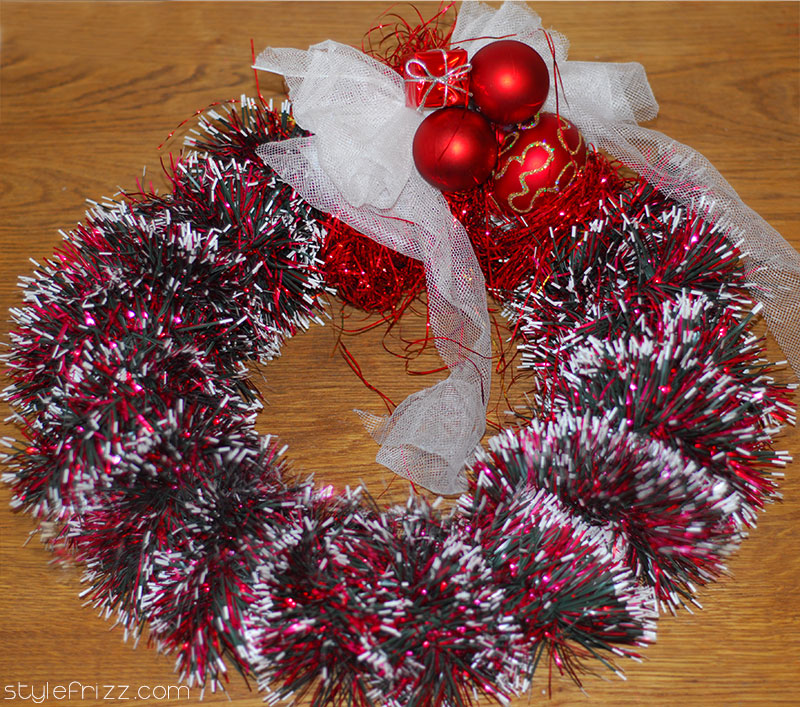
A second project I photographed with generosity is slightly different than the one above. It’s a story about nature, about wind and sky, about stars and trees, about love and hope.
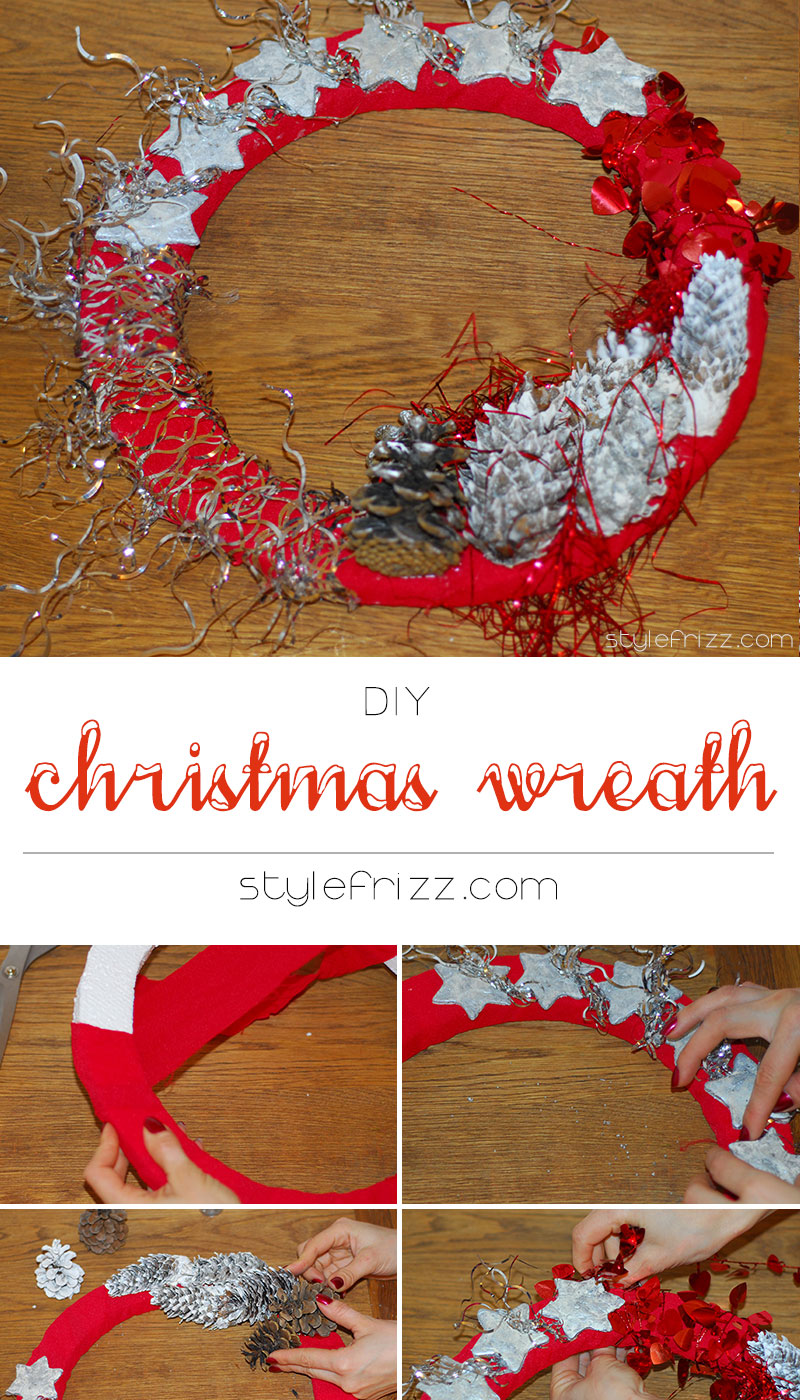
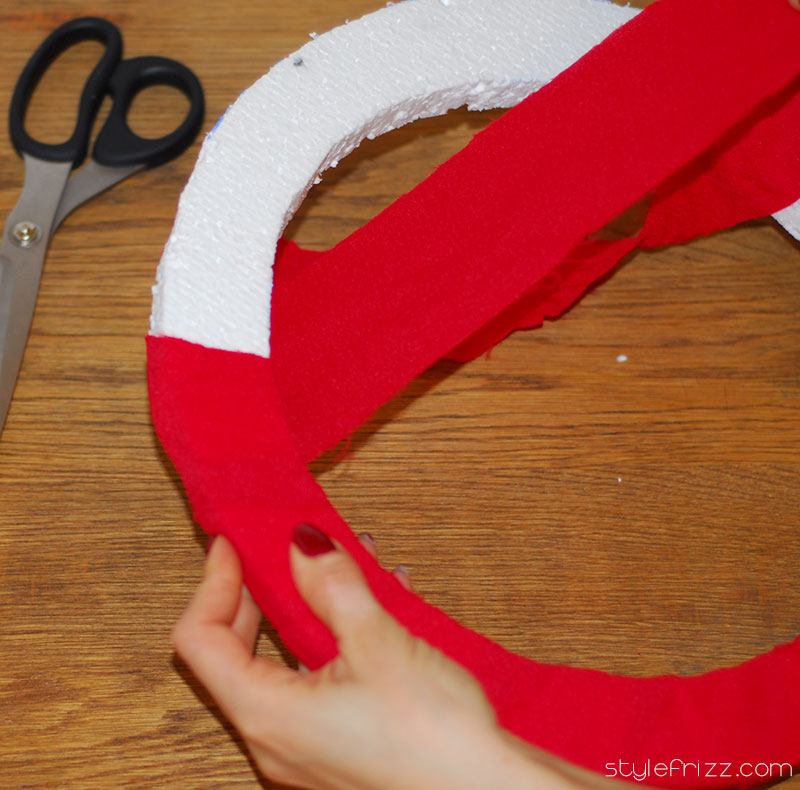
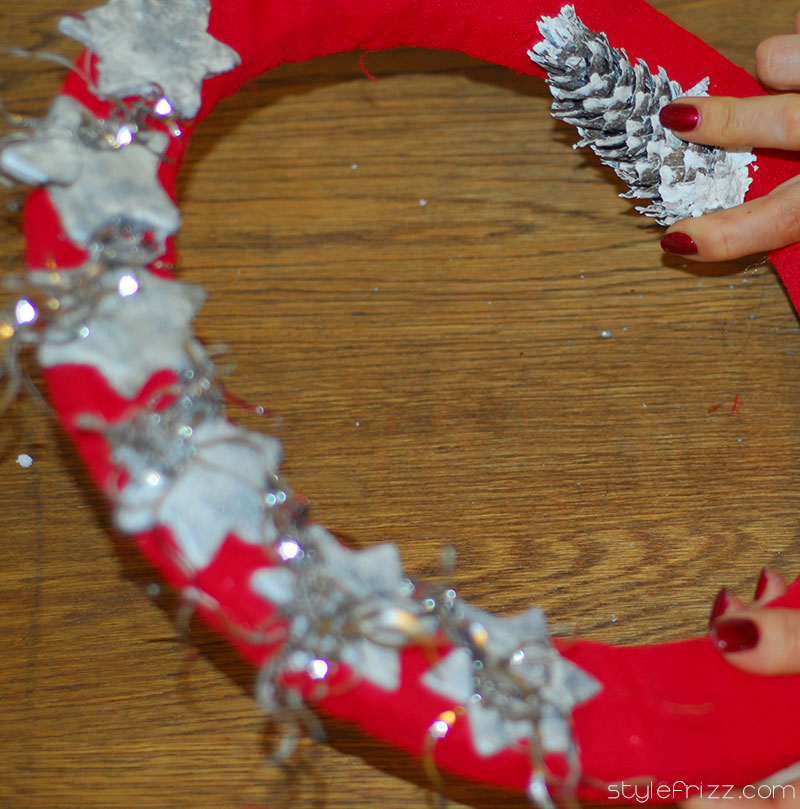
I started off with the same polystyrene base and wrapped it in some red fabric I had left from one of the kids’ Santa costumes (which, yes, I also DIYed – it’s a tradition in the Frizz household, to craft costumes and gifts, decorations and whatnots).After wrapping and securing the base, on to the decorations.
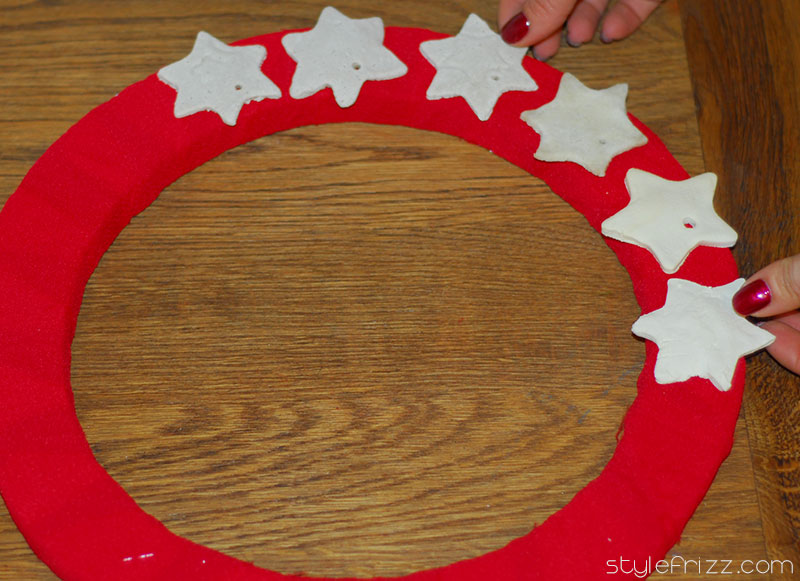
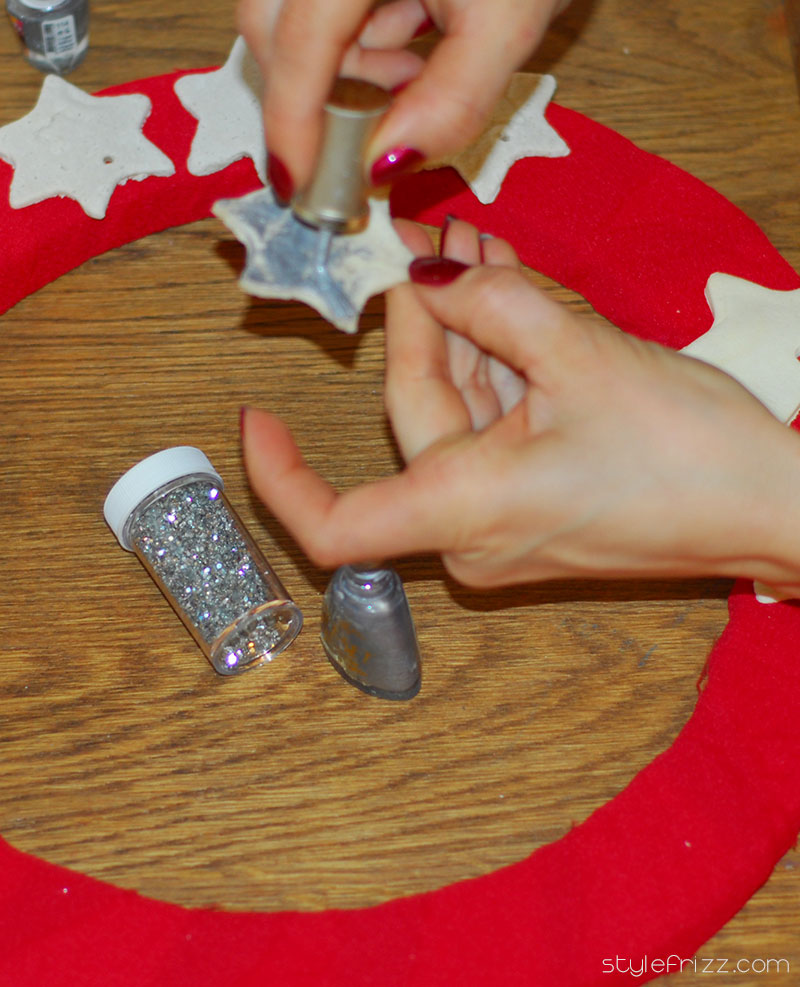
Which were… white! Breaking into my polish stash and on we go with the silvering of the stars! Some minutes later, all my six stars were polished and glued on the base.
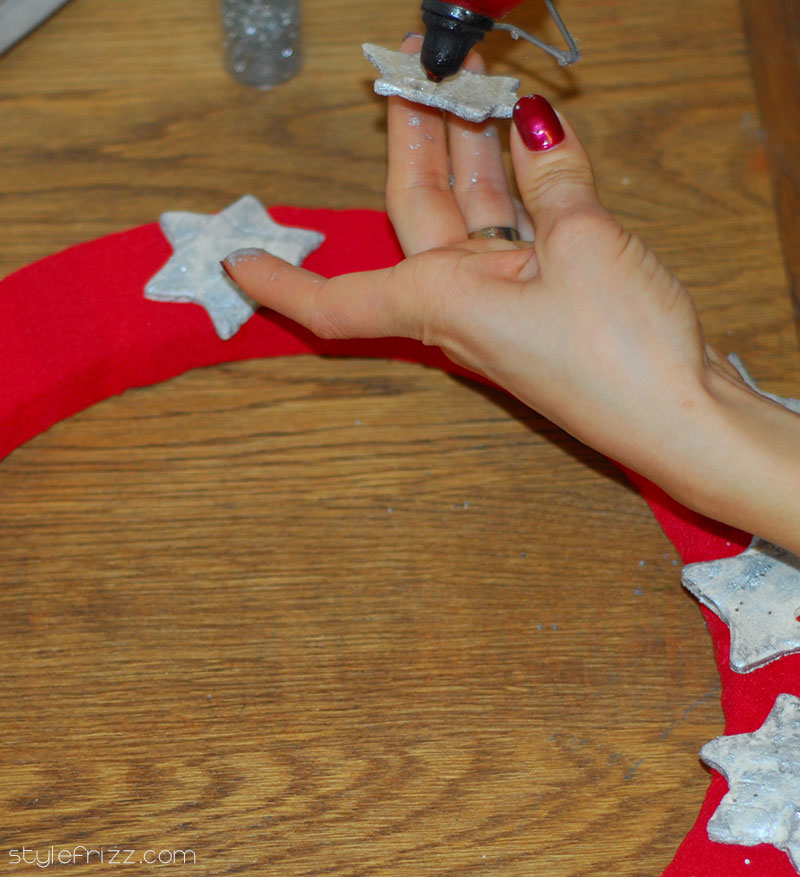
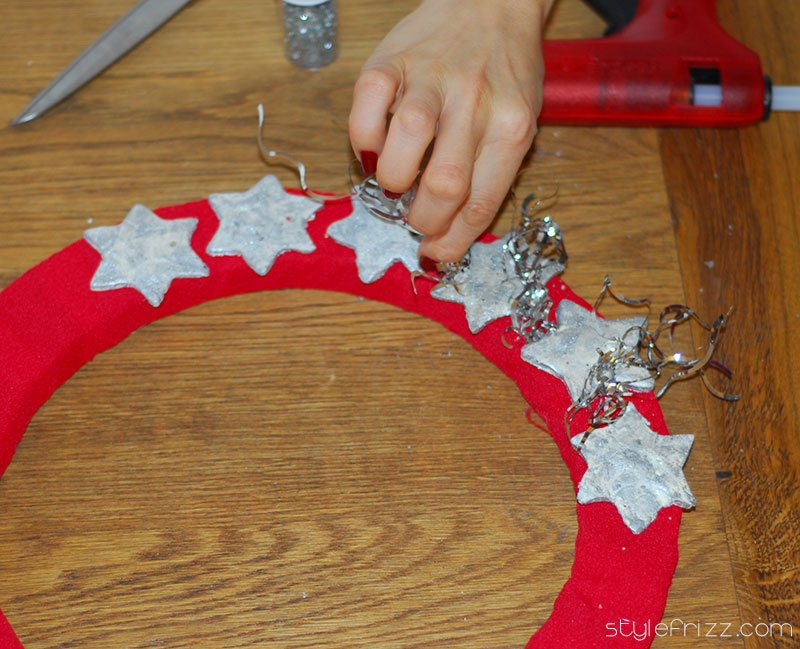
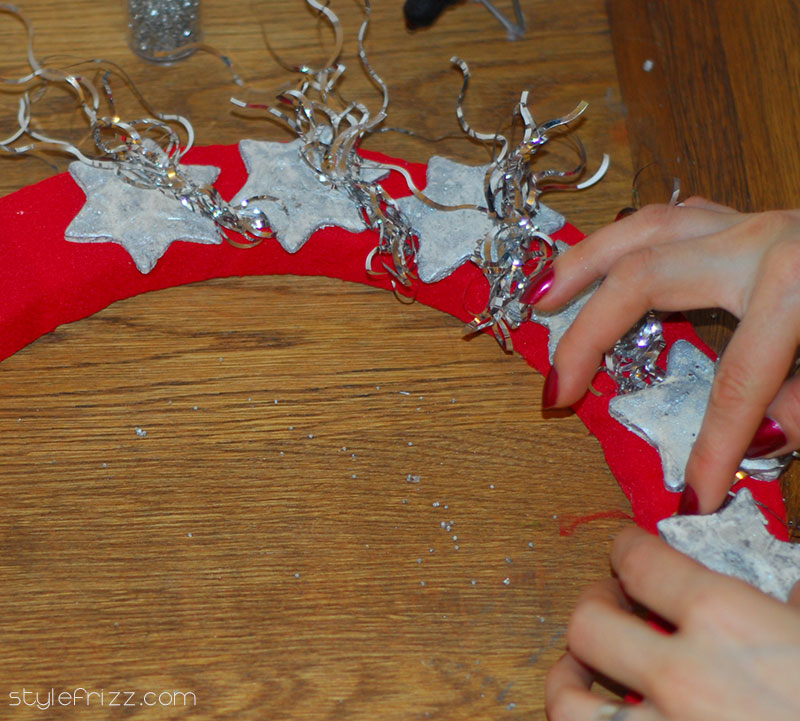
Except something was missing… adding more shine with some tinsel tucked just a bit under the stars as to make tails like you see on the shooting stars – you know, the ones you wish upon? There! Beautiful!
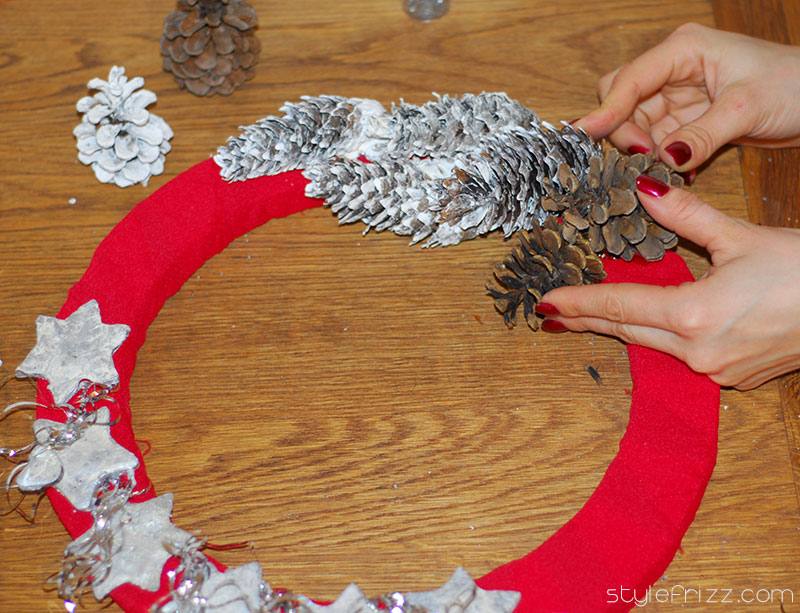
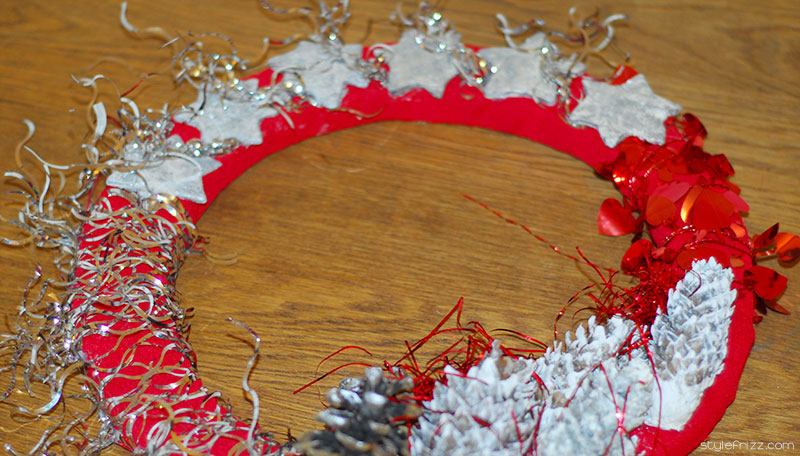
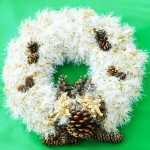
Now that the sky is ready, let’s focus on the earthly side of the wreath – the pine cones! I’ve had some painted white cones from years past lying around so I took 4 of those and two more which I painted with the same silver polish I used for the stars. I glued them on the base and added some red tinsel for extra shine.
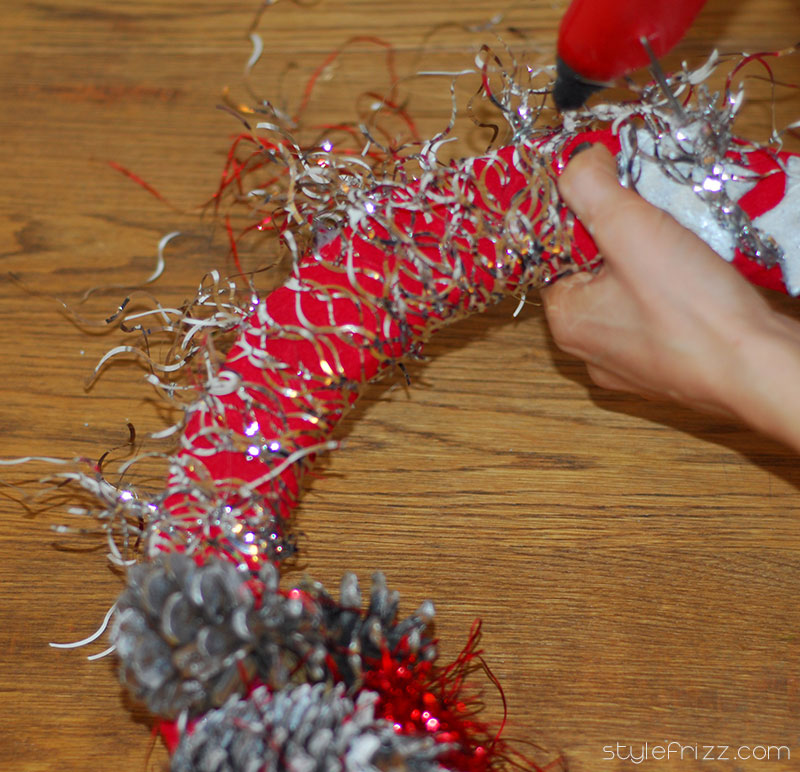
Beautiful! Now what? I know: let’s add movement to the wreath! Wind! And how do you show the hope and wishing upon the shooting stars? I know! Tinsel! More tinsel! Make it sparkle and vibrate! Doesn’t look like it’s moving?

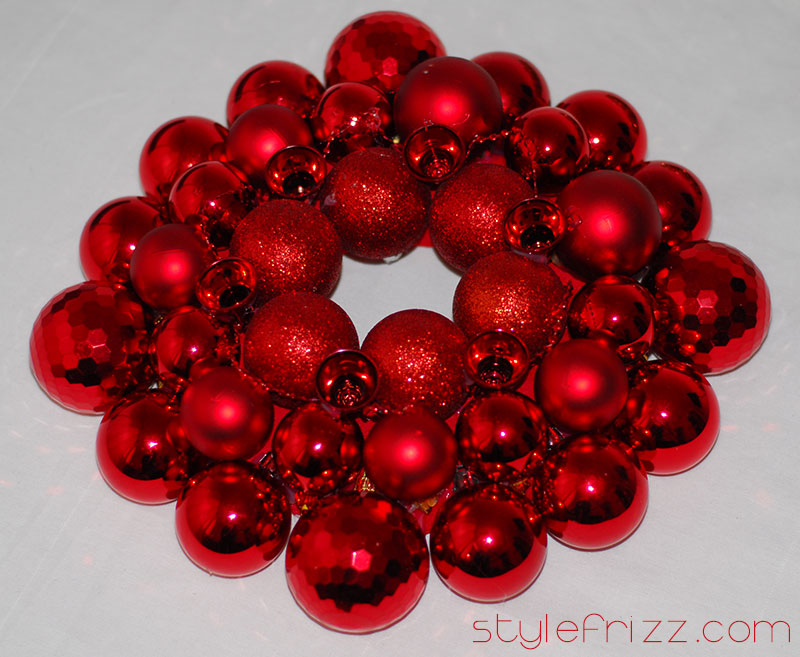
As a special bonus, another wreath I made – baubles only! It’s really an impressive wreath, you can use the same color for all the baubles or combine different shades of baubles, either way it’s going to be a wonderful result, you can be sure of it!
And no matter what wreath you’ll be making, enjoy this special time of the year with your family and loved ones! Take a few days off everything else and focus on love and harmony! Merry Christmas!












2 comments
Thanks for sharing this Kpriss!
Merry Christmas to you and yours!
And to the Style Fizz family of posters. : )
Merry Christmas to my favourite blogger and all readers.
All the best for the New Year as well.
Love and peace.
Leave a Comment