Remember I told you something about popcorn when I did my last headband for the girls in my daughter’s dance class? Yep, it’s the pearls and flowers headband and they snapped the elastic and made the pearls pop?
That was the moment I told myself I would only make headbands with sewn flowers instead of glued. To prevent the ‘popcorn’ effect! Well, I came up with something better instead: a no-sew, no-glue DIY flower headband! How’s that for child-proofing? Huh? Read on to discover how to make a gorgeous spring summer headband for girls and women alike!
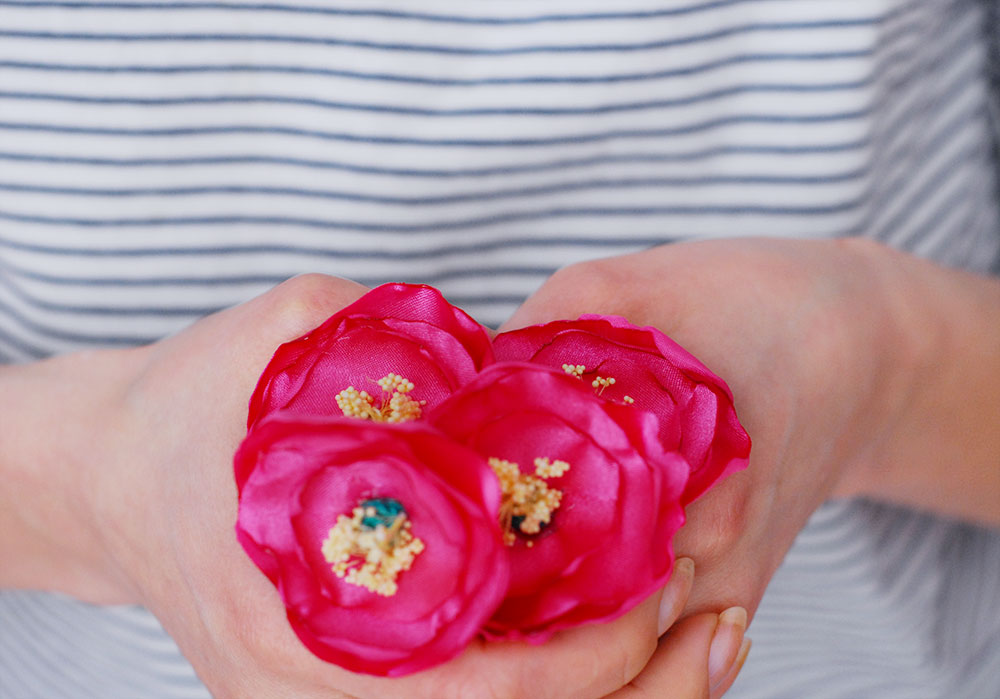
I said girls, right? And everyone knows girls love pink! Sure, they love unicorns and butterflies, but mostly, they love pink! So I had to use some pink to make the flowers! But that’s as much pink as I can go with. So I chose a bright green for the elastic band – a simple, slim circular elastic band – you wouldn’t believe how fabulous it is!
See also: Flowers hair accessories inspired by the Valentino Couture Fashion Show!
I cut out irregular rounds of fabric. The bright pink kind! Something that’s synthetic enough to curl when approached to an open flame (I used an old negligee. Eh, my youth years! When I was also loving pink. A lot! Shhh!). Count about three rounds from different widths for each flower. I multiplied that by 4 because I was making 4 headbands. But that’s because I have too much free time on my hands. In-between school runs, dance class, guitar class, kitchen , vacuuming and laundry. Somewhere in-there I squeezed 4 headbands.
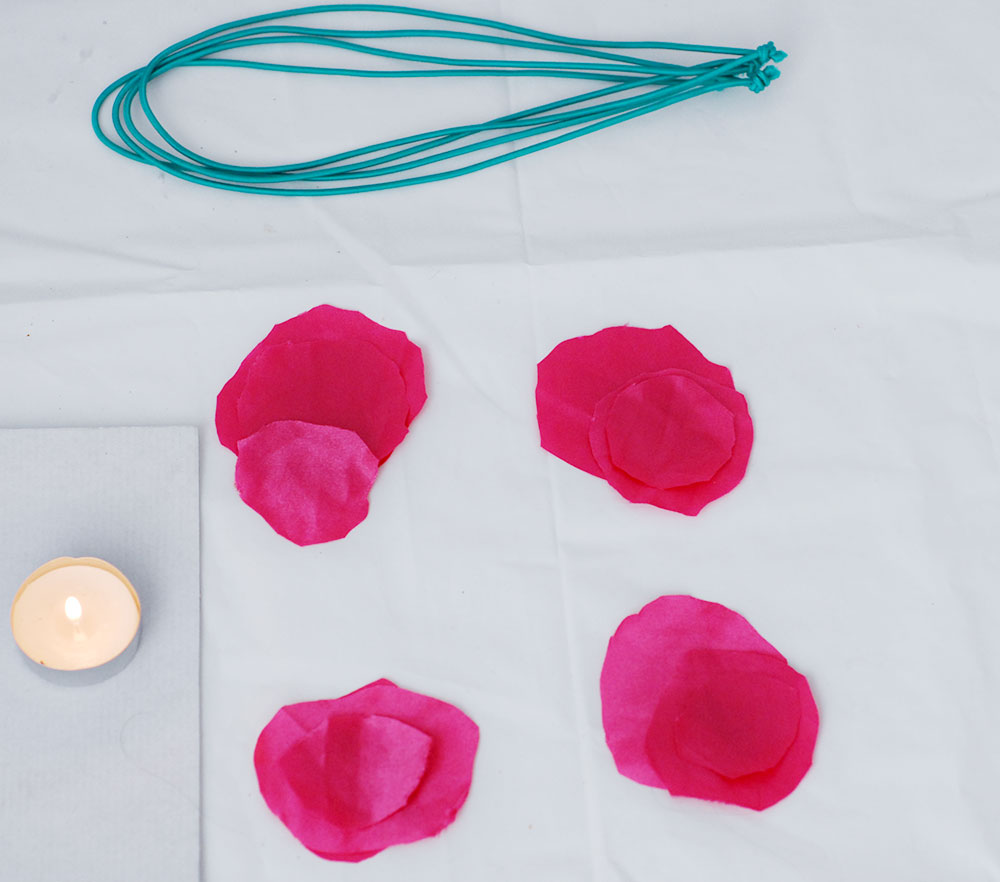
But it’s easy, really! That’s one of those 5minutes DIYs that’s better than Yoga. Did I just say that? Uuuughhhh – let’s get back to the flowers before I find any more dainty comparisons!
See also: Dotted bow veil inspired by Giambattista Valli Couture!
So you’ll need a candle! If you have a Diptyque perfumed candle (fancy you!), I had to settle for an ordinary non-perfumed candle like you see in the pictures. Gets the job done. Also – don’t keep to many candles around kids under 10. They get ideas. And you have way too much furniture for their ideas!
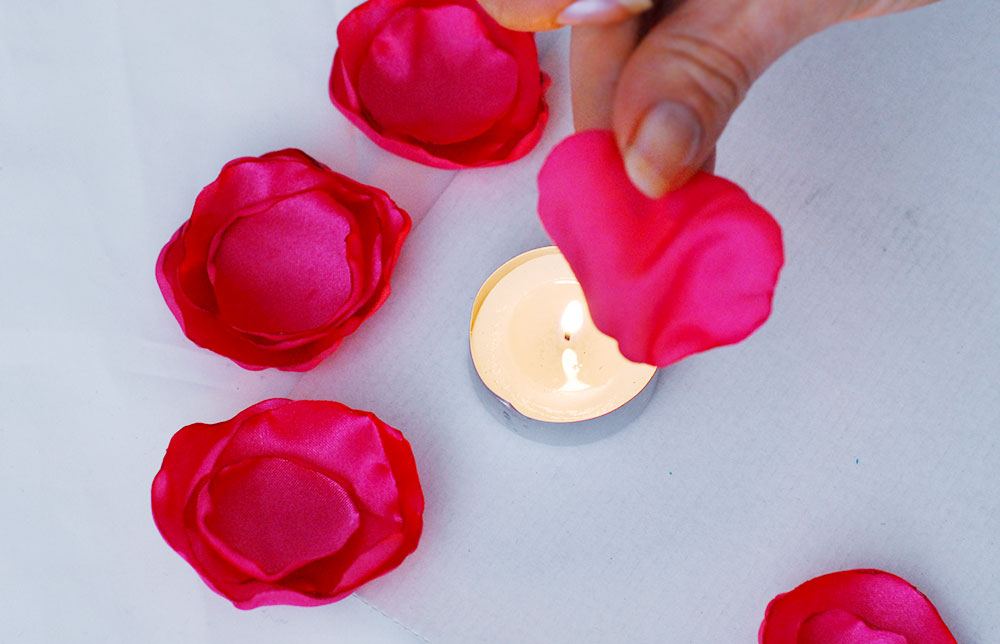
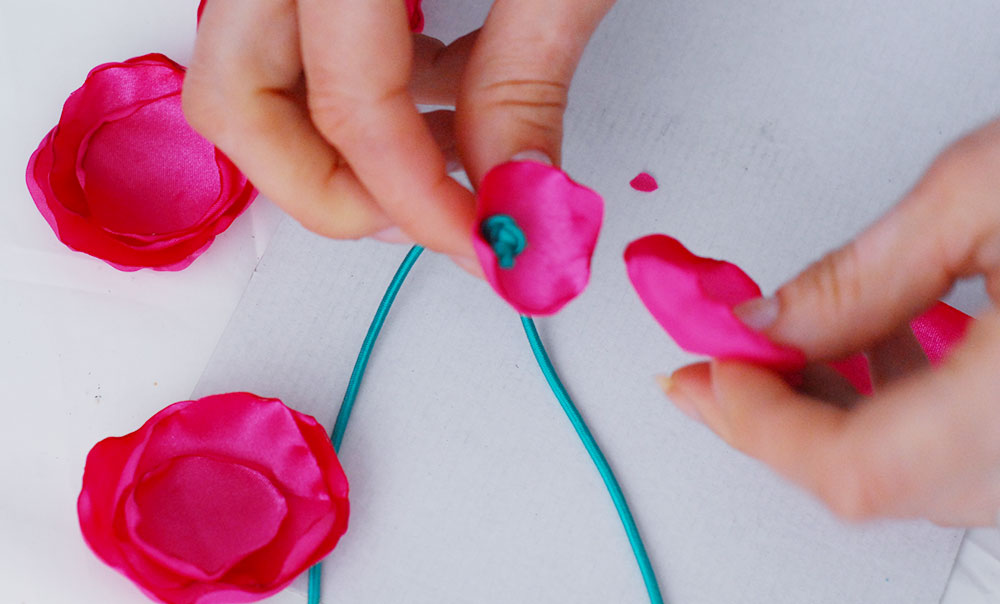
Back to the flowers: to make these curled up flowers, you need to approach their edges to the flame. Not too much, but enough to curl them a bit. You’ll want to curl inside the edges of the shiniest side of the fabric, so be careful when you approach the rounds to the flame!
Curl all the petals, leave them aside, blow out the candle. Now. You’re safer!
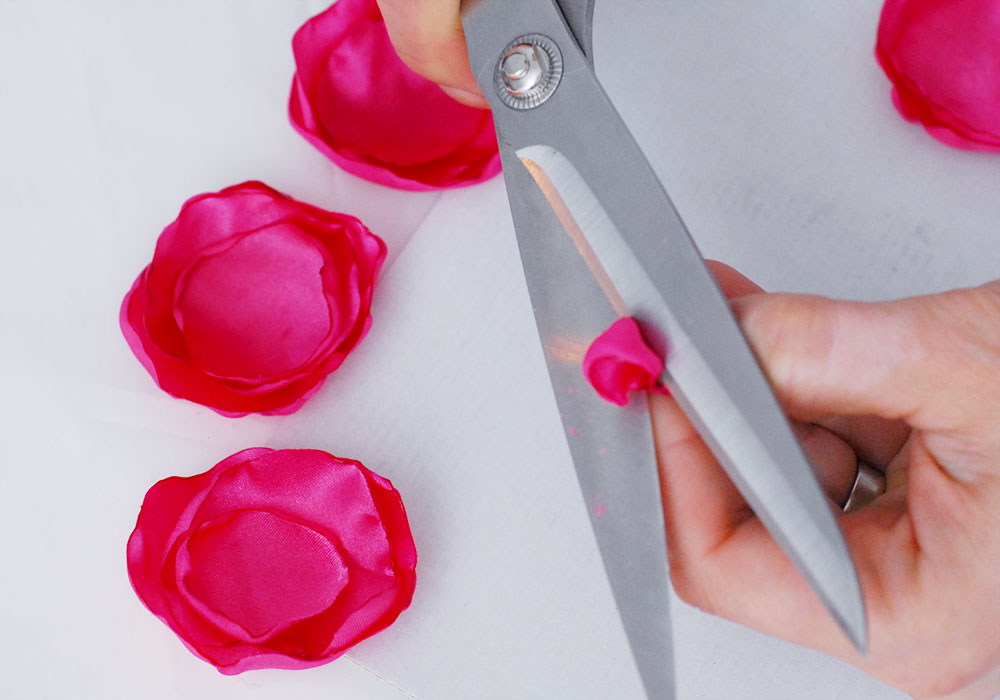
But for those of you who used perfumed candles… too bad (grin) you still have to blow out the candle! (evil laugh)
Now measure the elastic band and cut as much as you need to wrap the head and and an extra inch and a half. You’ll knot that headband’s ends. Yes. A normal knot, nothing fancy – just make sure it holds! I told you about my popcorn incident, I learned my lesson! All headbands must be tested and proofed before giving to wear to our beloved hyper active girls! Bless their hearts and tiny toes!
See also: 4 Failproof ways to fix a bad hair day!
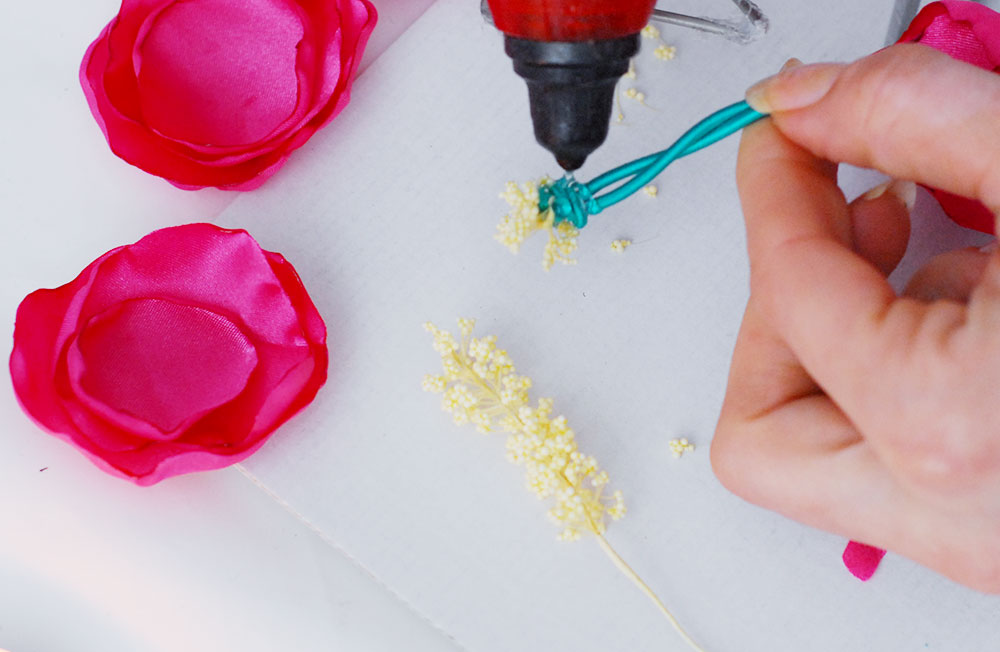
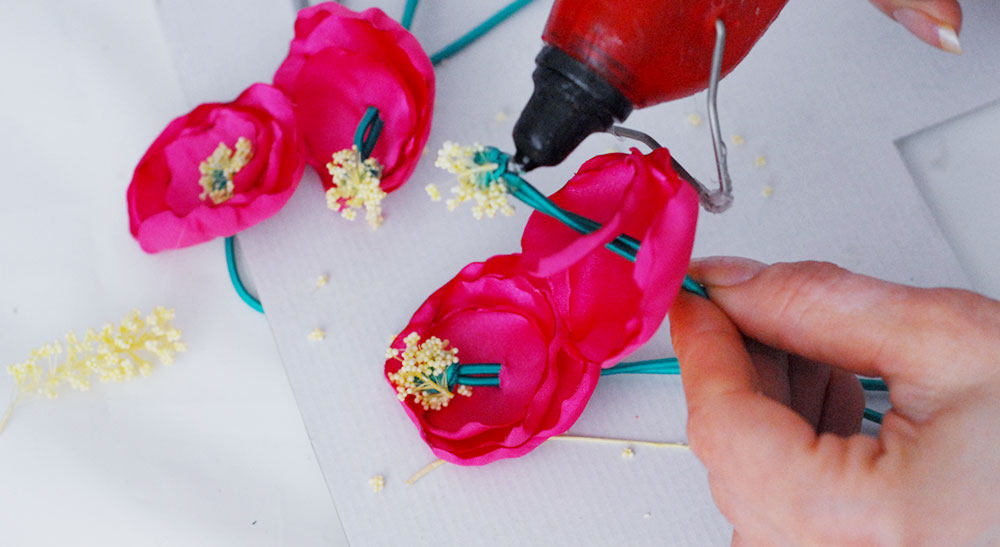
Now plug the glue gun. Yes, I know I said no glue, but I couldn’t hold back! I looked at these flowers and imagined how perfectly well they go with yellow pistils and I couldn’t resist. I plugged my glue gun and glued the petals together once I got the elastic through a tiny hole I cut in their middle. I cut some yellow flowers you’ve seen me use before and glue it around the elastic knot, in the middle of the flowers!
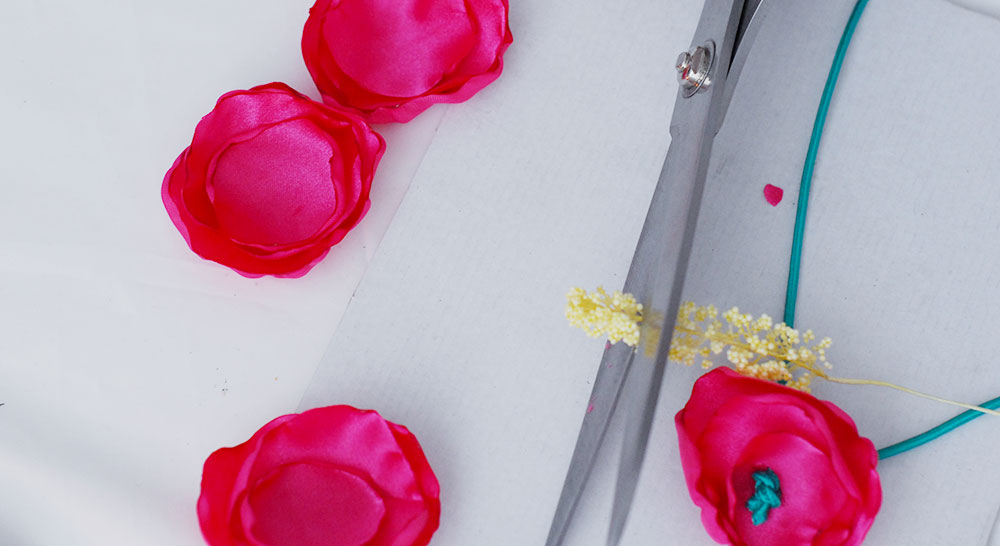
I swear, these headbands look so real and perfect to me, I would totally put them in a vase and stare at them! Don’t mind me, I have four kids under 10! I had to gift all the headbands away before I planted them in the garden! But it was fun to do, a really quick DIY project that made 4 young ladies veeery happy! And veeeery pretty!
So tell me: would you try your own flower headband? Last year I applied the same no-sew principle to fabric poppies and they were a complete hit! The kids wanted me to make some for their teachers and the ladies loved them! You can absolutely try this project for Mother’s Day! Or the Burberry pompom bracelets!








Leave a Comment